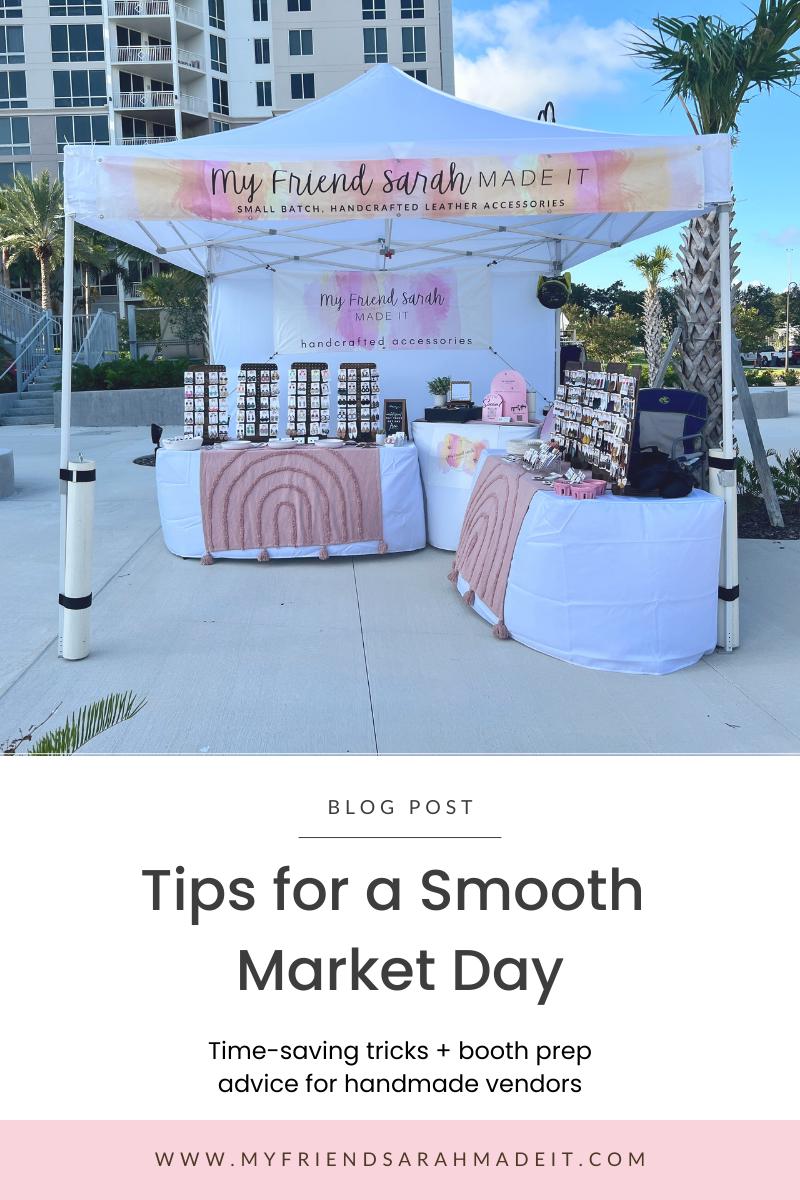
If there’s one thing I’ve learned from setting up at local markets, it’s that a little prep goes a long way. I love sharing time-saving tips with fellow makers, especially when it comes to booth setup and market day prep -- because let’s be honest, the fewer things you forget at home, the smoother your day goes!
Whether you’re brand new to vending or just looking for a few ways to streamline your routine, I’m sharing my go-to checklist, favorite tricks, and the must-do habits that help me feel ready (and a little less frazzled) on market mornings.
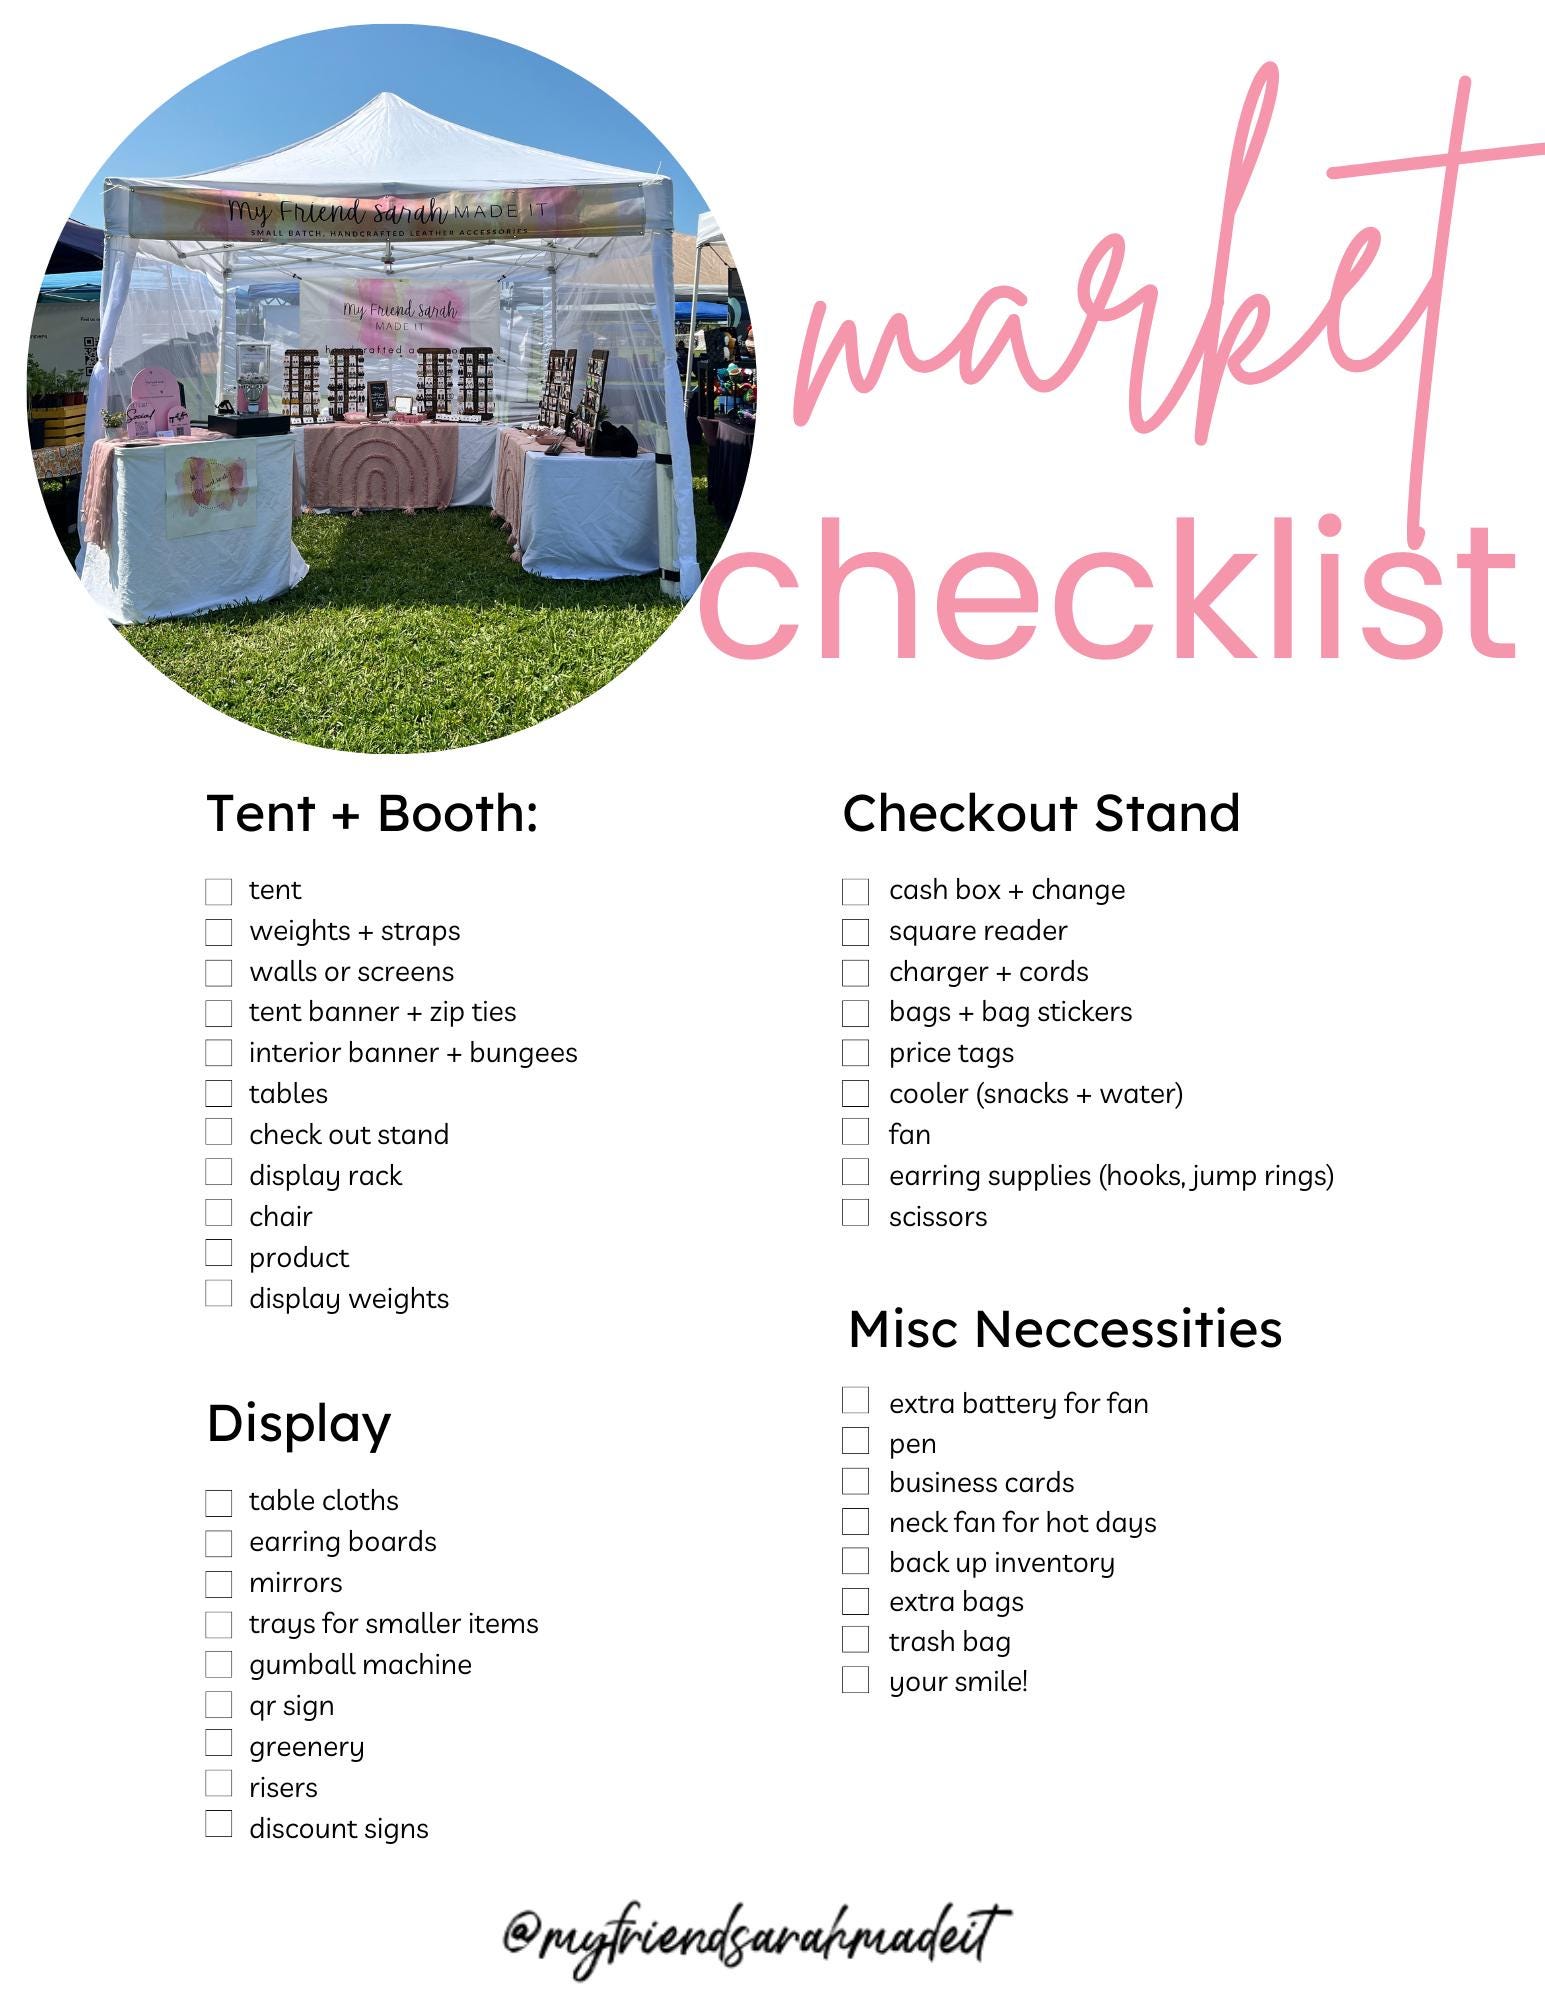
✅ First Up: The Checklist
If you found this post through Pinterest, you probably already saw my market checklist graphic -- if not, you can grab it here or save it to your Pinterest board for later. It includes everything I bring for:
- Tent + Booth Setup
- Display Must-Haves
- Checkout Stand Essentials
- Misc. Necessities (because yes, you will need that lint roller)
I have this saved as an editiable checklist in the notes app on my phone, and even though I've been doing markets for years and have my routine down, I always scan through it quickly just to make sure I didn't forget something (like phone charger)!
🌞 Market Tips From a Florida Vendor Who’s Been There 🌞
Let’s talk the real stuff -- the behind-the-scenes things I’ve learned the hard way:
- Always pack for wind. Bungee cords, zip ties, and tent weights are a must. Bonus: they also help with setup speed! I recently traded my solid tent walls for this mesh screening - with items as lightweight as mine, the slightest breeze can send my earrings flying. This screen helps SO MUCH with wind and really cuts down on how often I'm picking earrings up from the ground. And tent weights? Non-negotiable. At nearly every market, I see at least one vendor without them, totally unprepared for a rogue gust. It’s honestly shocking how easily a 10x10 tent can lift off and crash into someone else’s booth. Trust me -- it’s just not worth the risk.
- Test your display at home. Don’t let market day be the first time you try that new riser or table layout. Set it up in your driveway or living room and take a photo to reference during setup.
- Think through your checkout flow. Where will you keep bags, Square reader, your cash box, your thank-you stickers? Organize it so you’re not spinning in circles mid-sale.
- Have a plan for slow moments. Bring business cards or postcards you can hand out to passersby, and don’t forget to snap content for social while it’s quiet! Making earrings is a little tricky to do in the grass, but some times I'll bring pieces to assemble for when I don't have customers in my booth.
- Bring water, snacks, and sunscreen. Especially if you're solo -- market days are long, and no one wants to shop from a vendor who’s hangry. I personally don't like to leave my tent unattended at all, so I try to bring a well stocked lunch bag (give yourself a treat, too -- I like to add a bag of Nerd Gummy Clusters to mine)
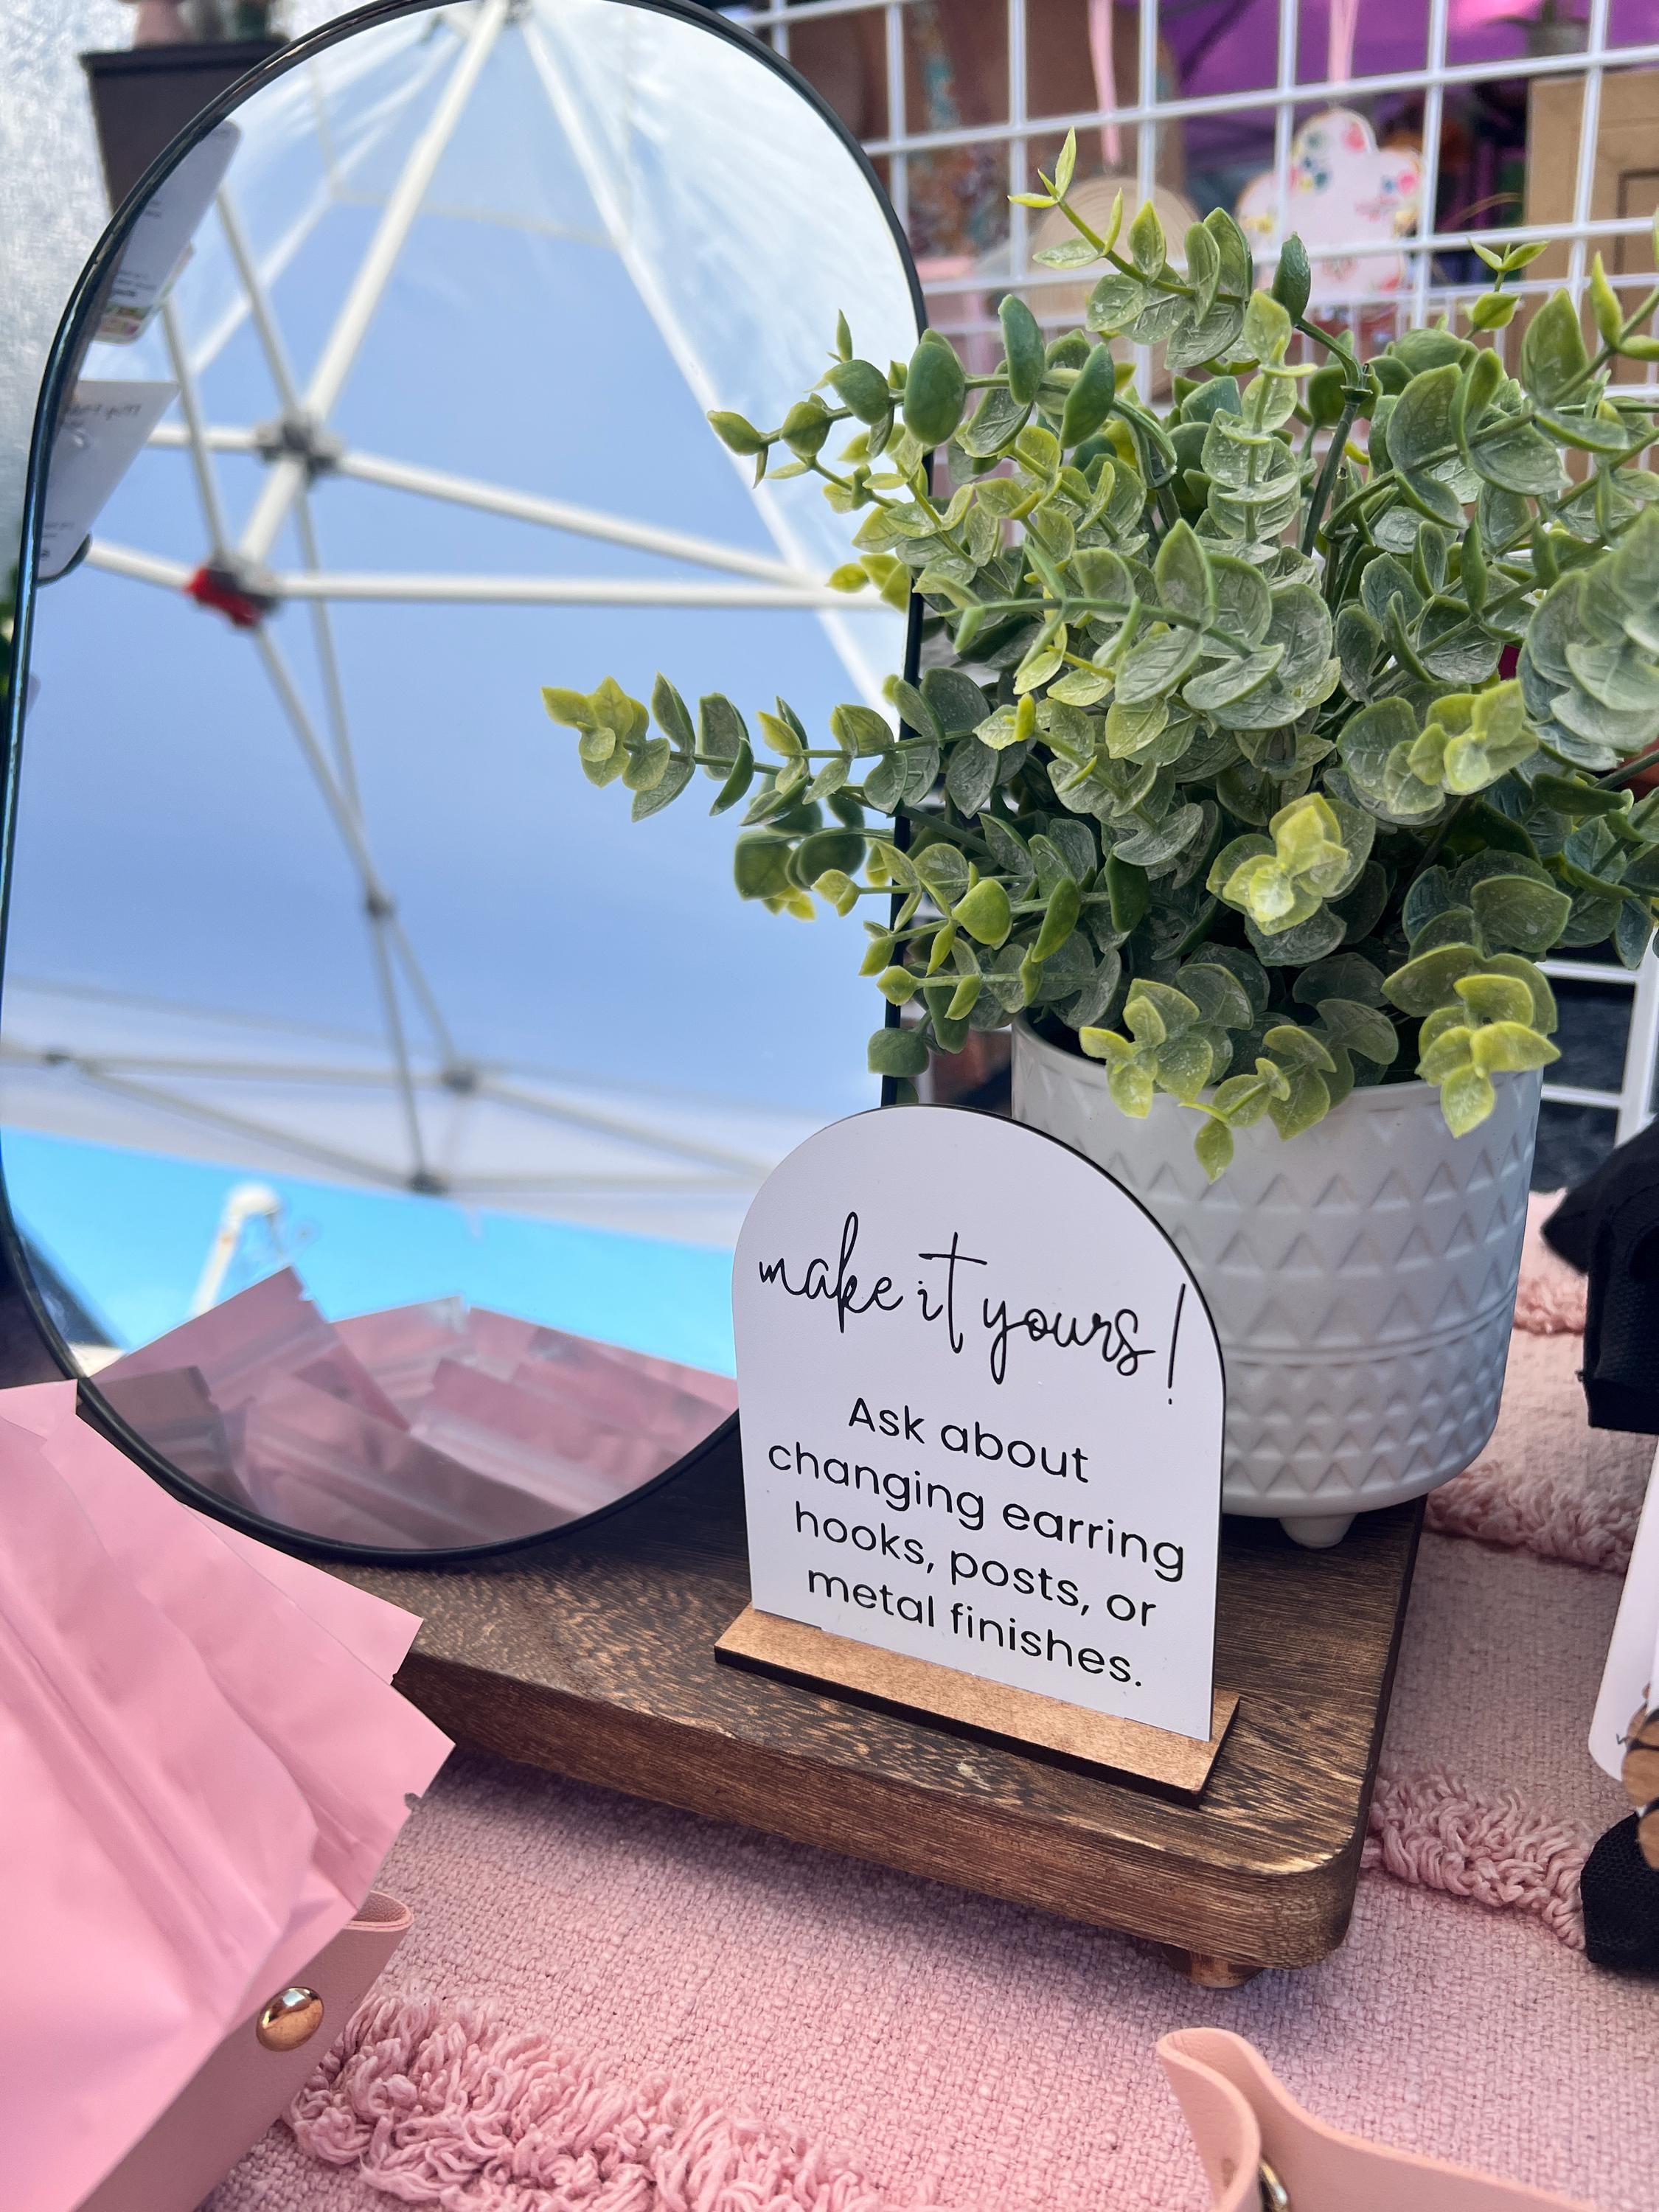
🎪 Bonus Tip: Make It Cozy + You
Your booth is an extension of your brand. I like to bring faux greenery, couple of table mirrors for customers visualizing their earrings, and signage that feels like me. It makes the experience more personal and inviting!
I hope this post helps you feel more prepared (and less panicked) heading into your next market! If you’re a fellow vendor, I’d love to know: what’s your can’t-live-without market item? Drop me a note or connect with me over on Instagram -- I love swapping tips with fellow small biz owners. And if you’re local to Florida, you can always check where I’ll be popping up next by visiting my Events Page!
Thanks for being here, and happy market prepping!
xoxo, Sarah My Friend Sarah Made It