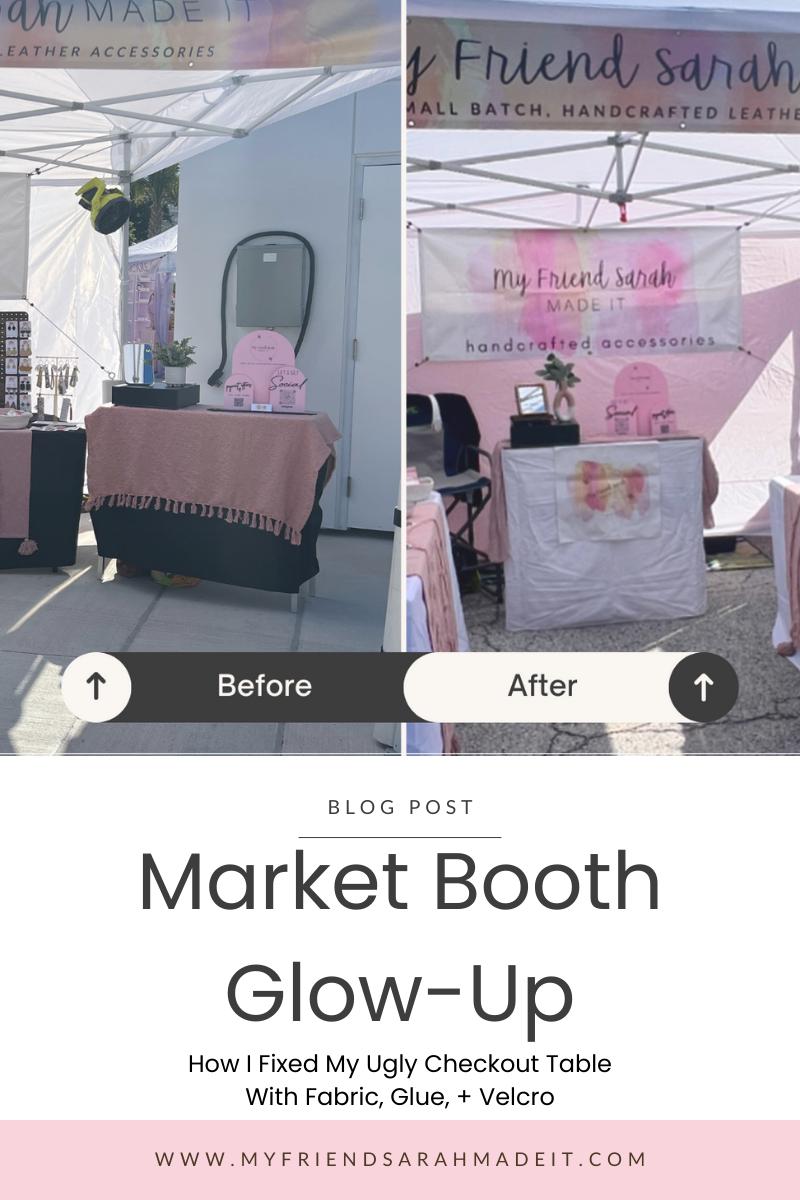
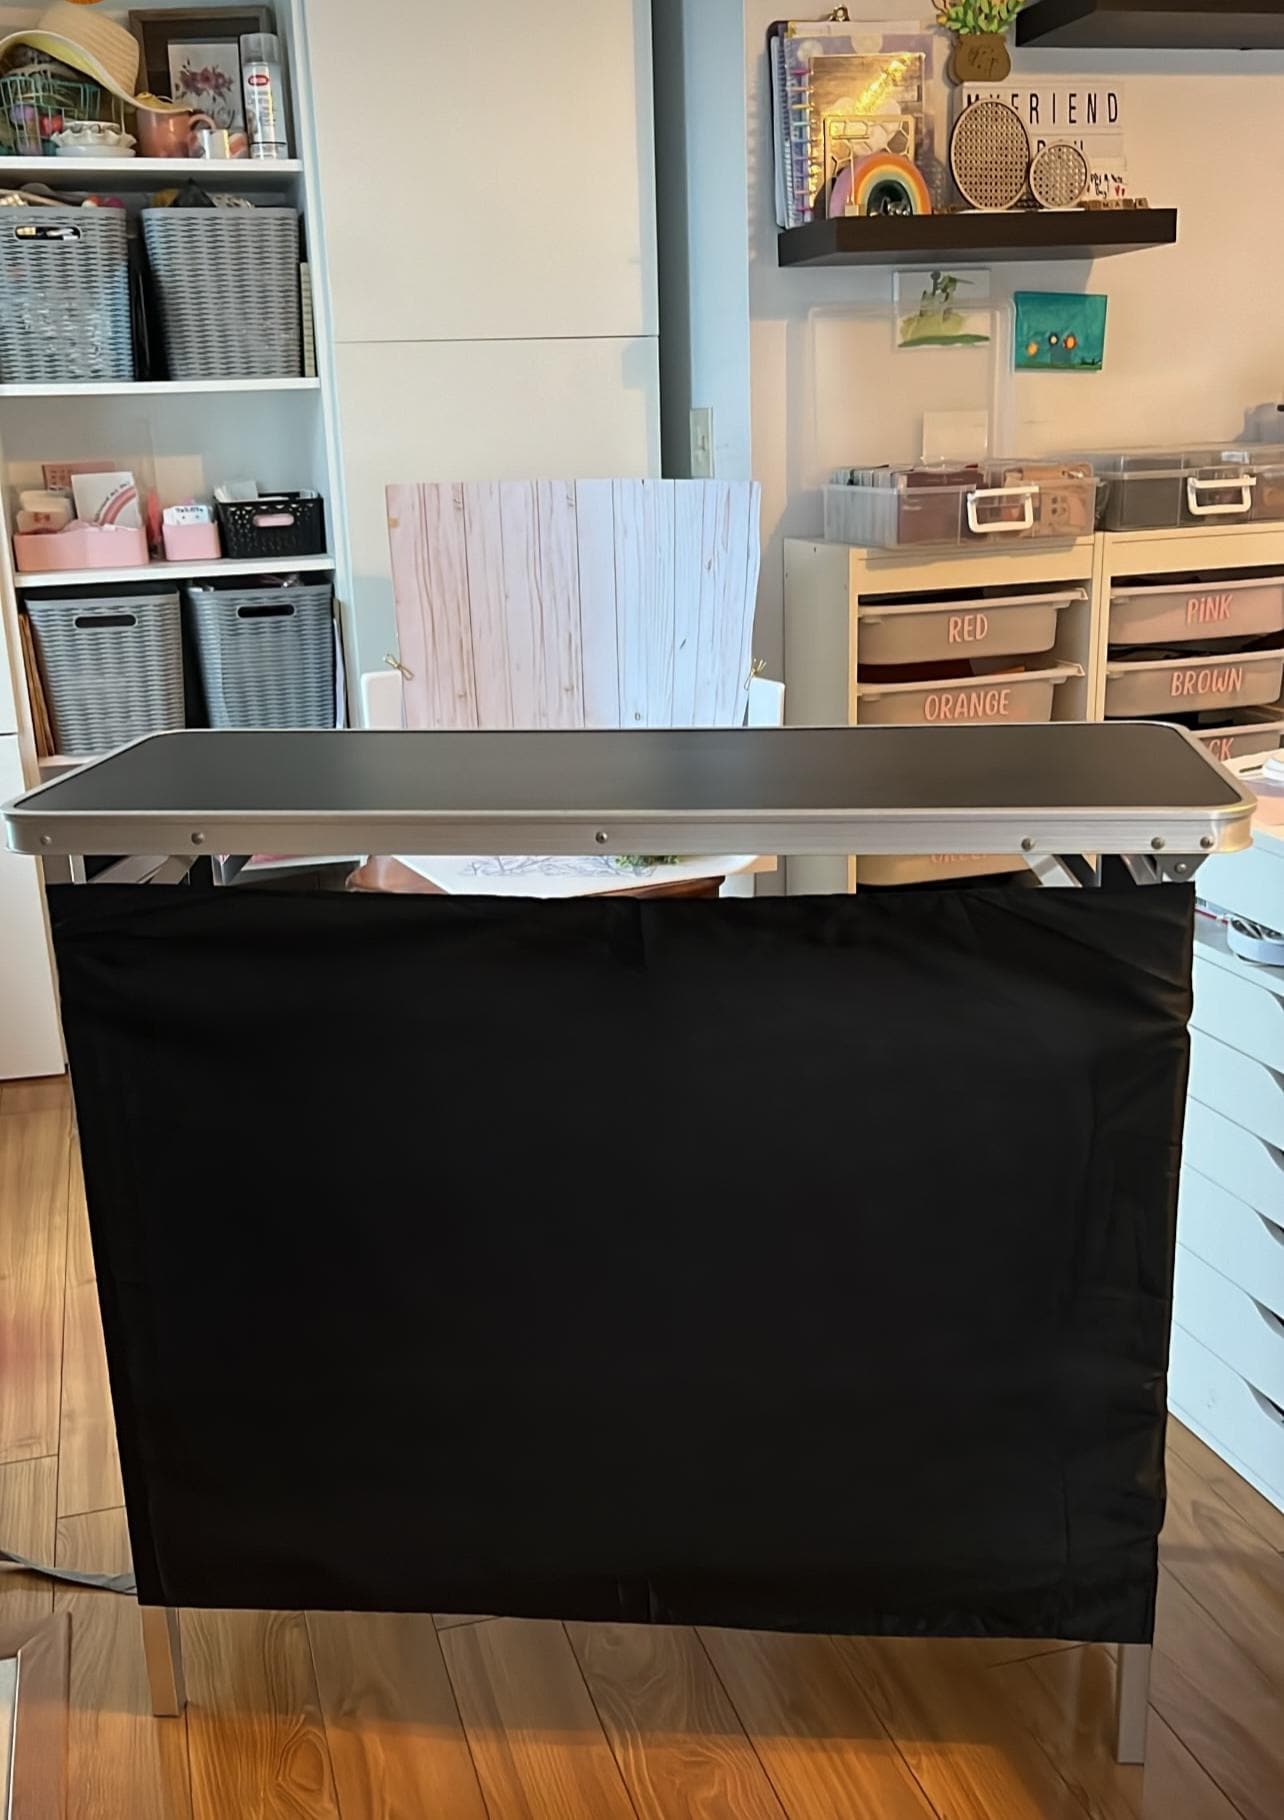
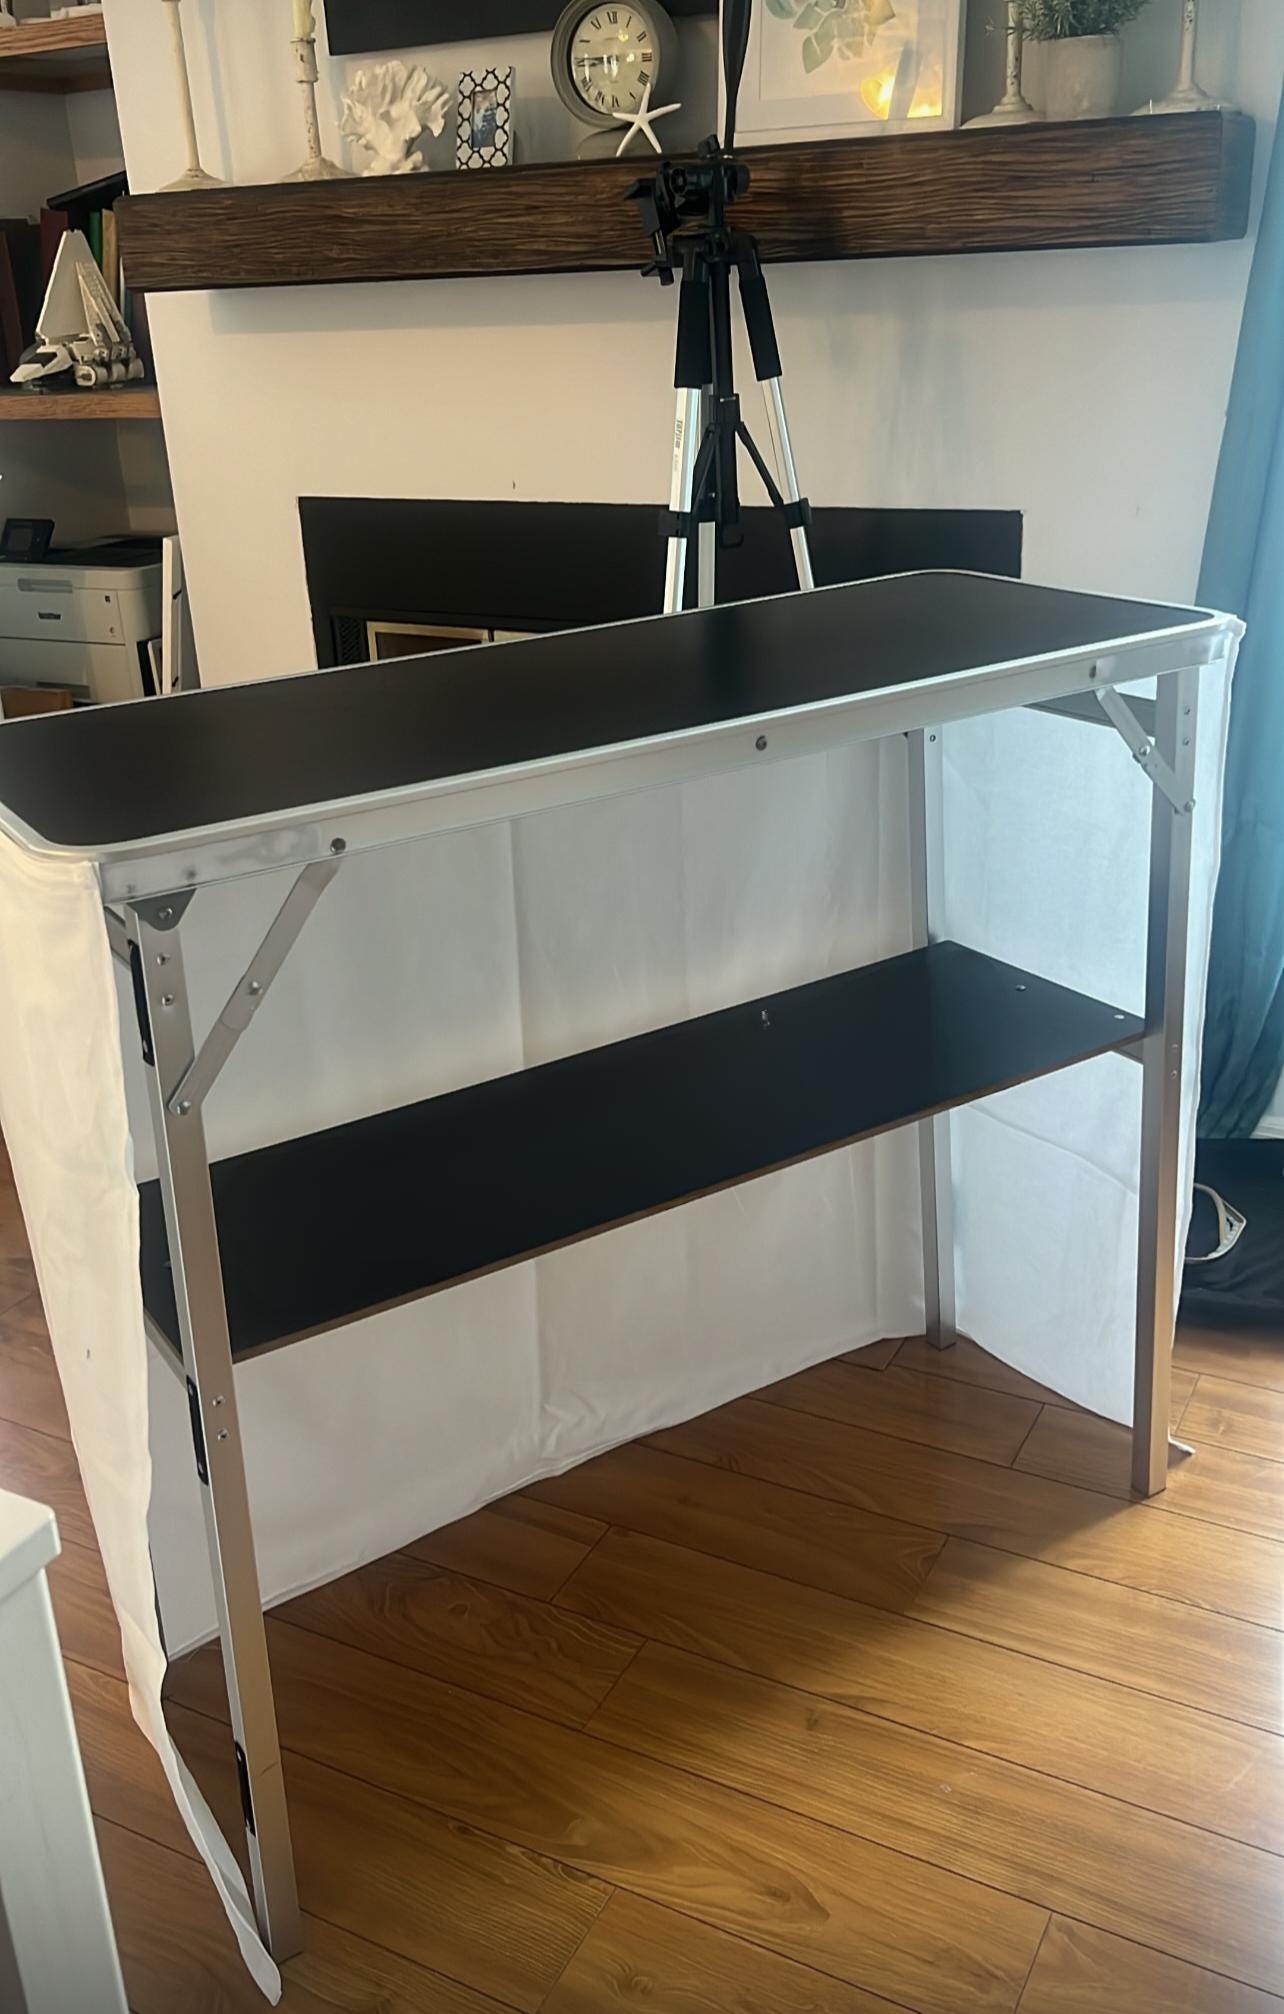
Ok vendor, let’s talk about the checkout stand. It’s one of those functional-but-forgettable pieces of your booth… until you realize it’s the first thing shoppers walk up to when they’re ready to buy. I’ve been using a portable tailgating bar as my checkout stand for years, but I hated the cheap-looking panel it came with -- it didn’t reach the top or the floor and and just felt off compared to the carefully curated setup in the rest of my booth. So I decided to DIY a custom skirt that was affordable, washable, and cute. Here’s how I did it step-by-step -- and yes, I’m including my quick little cheat to make it removable (hello, Velcro + E6000).
Materials I Used:
- White duck canvas (cut to custom size)
- Measuring tape
- Sewing machine (or hem tape if you’re team no-sew)
- Velcro (sew-on or sticky-back or E6000)
- Scissors or rotary cutter
- Iron (for crisp hems)
Step-by-Step Instructions:
Step 1: Measure EverythingI measured the height and width of the front and sides of the table. You’ll want your skirt to go all the way from the top edge to the floor -- no awkward gaps. I cut the fabric with a few extra inches on all sides for hemming.
I did a ¼" double fold hem on all four sides of each panel to give it a clean look and keep the edges from fraying. If you don’t sew, hem tape will work just fine here!
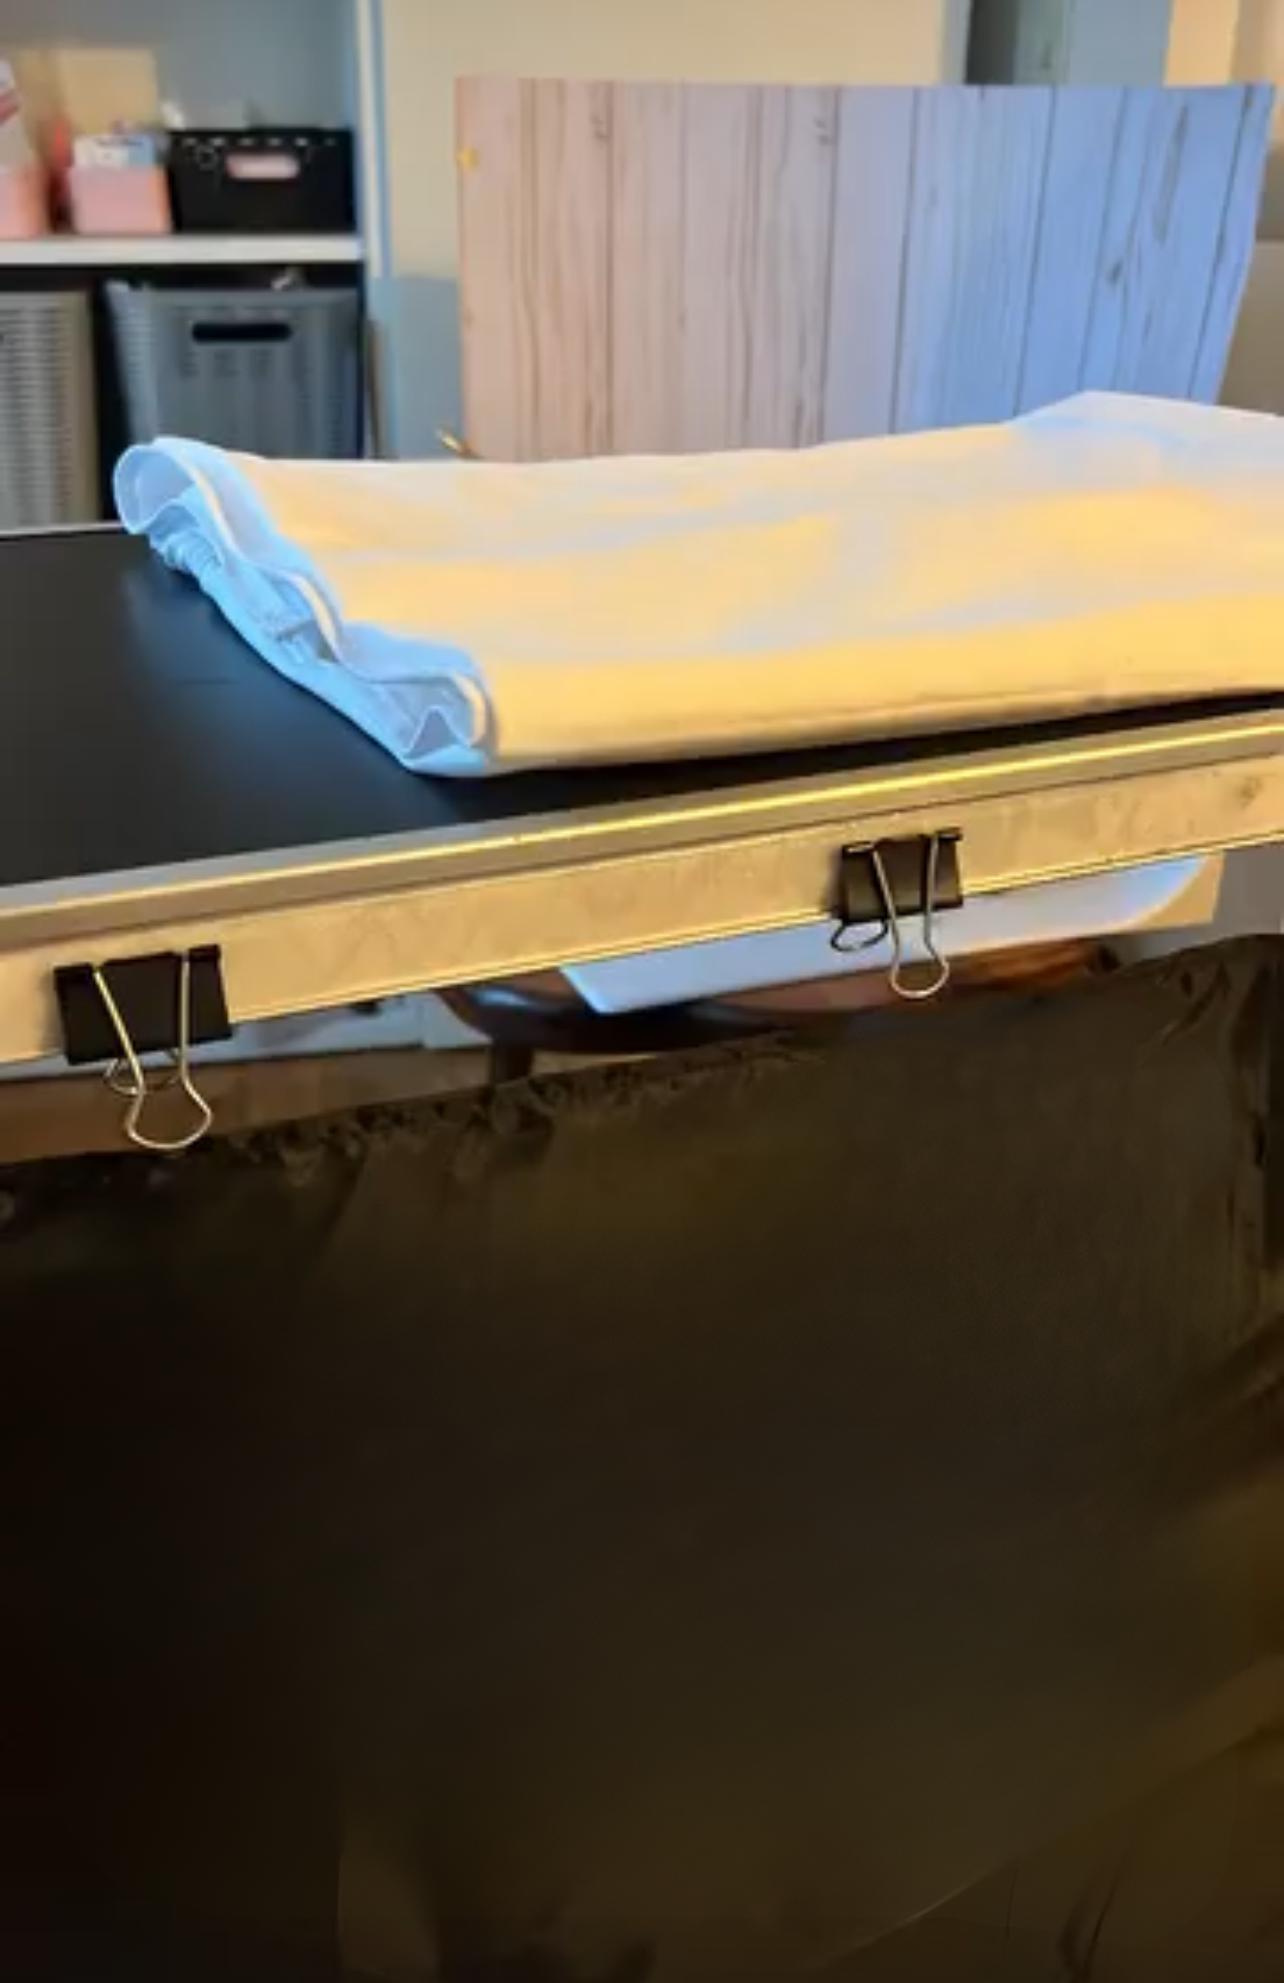
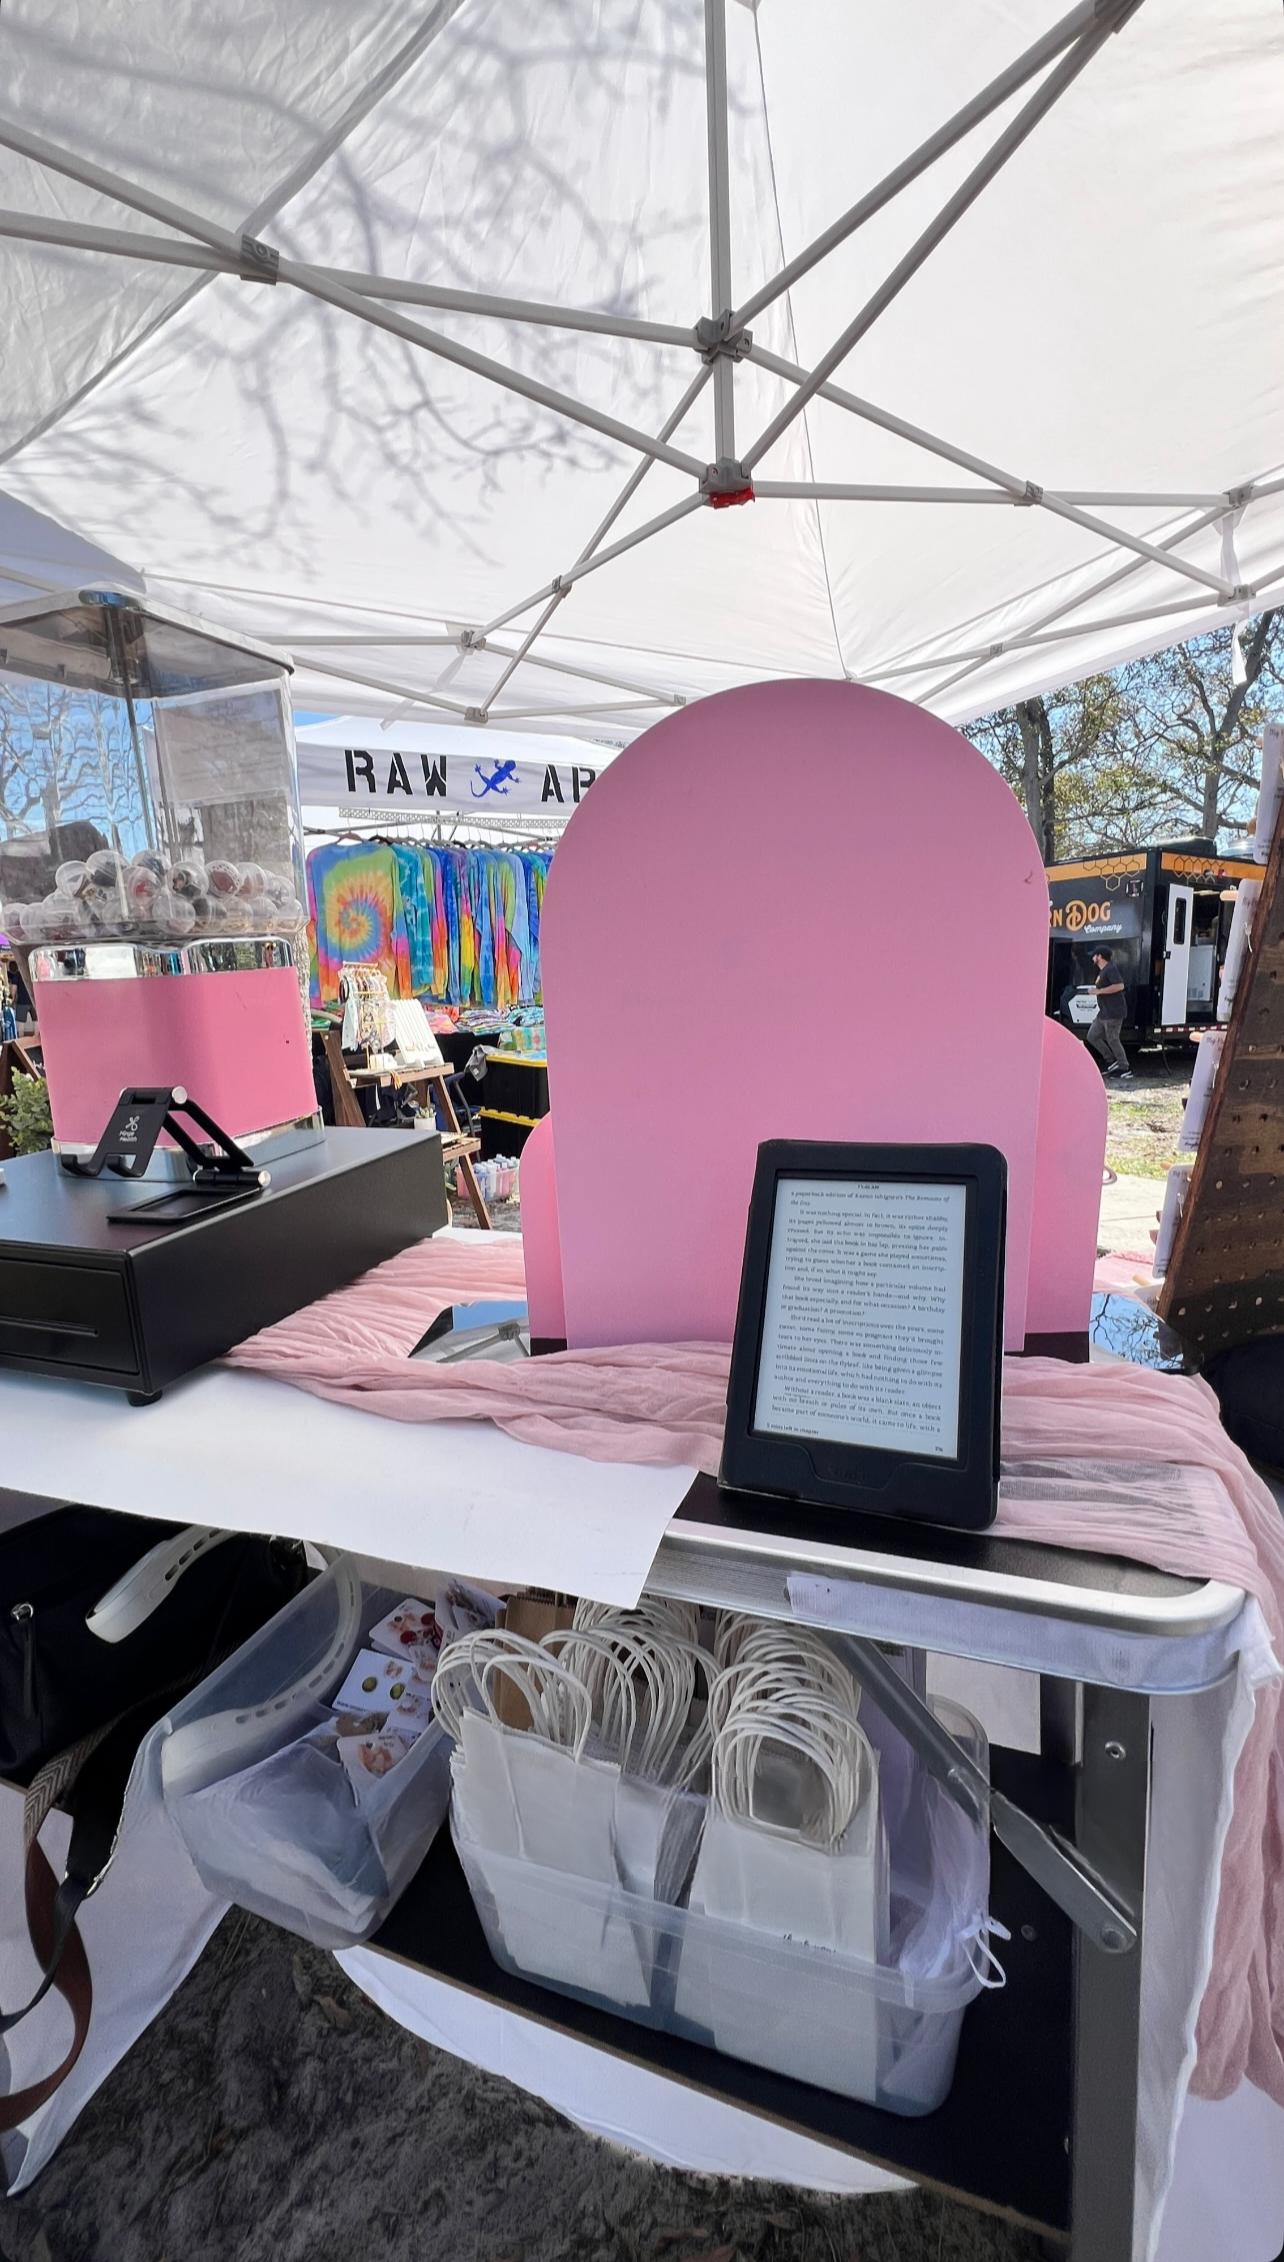
I sewed the soft (loop) side of the Velcro to the top inside edge of the skirt. Then I glued the rough (hook) side to the underside of the table using E6000. If you’re using sticky-back Velcro, you can skip the glue -- but I wanted extra security.
E6000 takes a while to fully cure (up to 72 hours), so I gave it a couple days before testing the final fit.
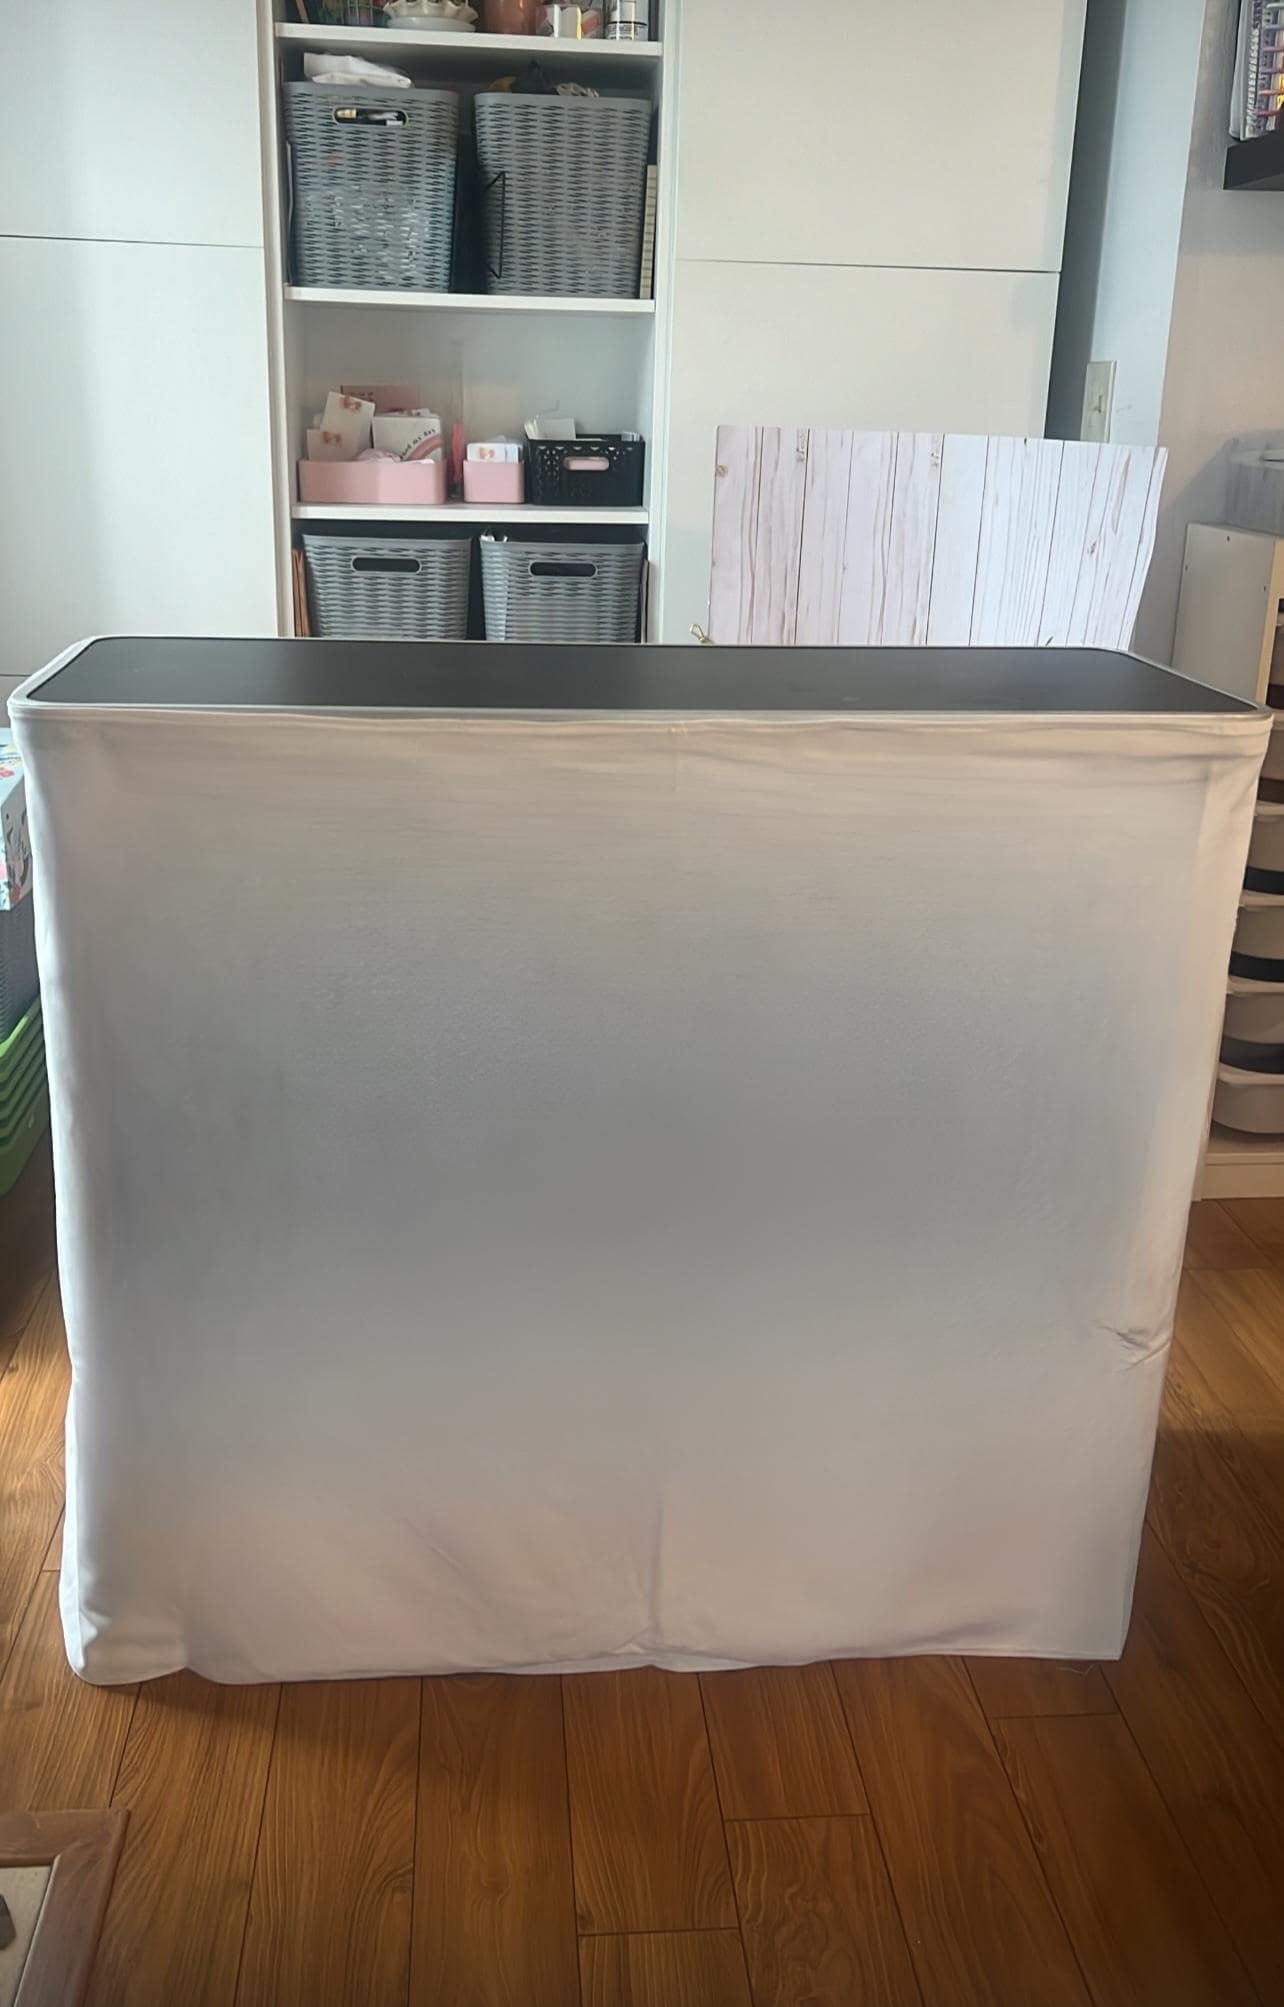
Not only does it look cleaner and more polished, but now I can stash everything I need behind it (like my purse, my merchandise bags, extra stock, my cooler of water, lunch bag, and bag of extra supplies) and no one ever sees the clutter.
Final Thoughts:
This little project made a big impact on my booth setup. It looks more professional, helps me stay organized, and was super budget-friendly to make. If you’ve got a checkout table that could use a glow-up, I 100% recommend giving this a try -- especially if you like clean lines and hidden chaos like I do! If this was helpful, I’d love to know -- tag me on Instagram if you try it! And if you’re curious about other DIY booth upgrades or market tips, check out my Market Day Checklist blog post for more ideas!
xoxo,
Sarah
My Friend Sarah Made It